Herby Shortbread Cookies

Howdy whalers! This week you got a plethora of herbs. I am betting that you already know how to dry them and make pesto, so I am going to share something a little outside the box: Herb Shortbread Cookies! This week’s recipe is adapted from My Midlife Kitchen. They used cinnamon basil in their recipe, but I am of the opinion that just about any herb will work in this one.

So first thing you want to do is wash and dry your herbs. Then you are going to chop them up fine. If there are woody stems make sure to remove them. Set out your butter to soften.

You are going to want to mix together your flour and baking powder. Note: original recipe calls for salt, but I used salted butter so I skipped it here. Beat your egg with a whisk in a separate bowl until it is frothy. Once your butter is easily mashable with a fork, combine the egg, butter, vanilla, and sugar; mix until a consistent texture. I used a fork, feel free to use a stand mixer. Finally, add your herbs! I separated the batter into three batches and added a different herb to each one.

There are all kinds of different ways to present shortbread cookies. You can roll them out flat and use a cookie cutter or make a cylinder of dough and cut off rounds. I am lazy so I went with the drop spoon method. Take a spoonful of the dough and place on a baking sheet that you have covered with parchment paper. Then you are going to bake the cookies at 375 degrees for 5-8 minutes or until they are golden brown!

The result a sweet and herb treat that goes very nicely with your lemon balm iced tea!

Recipe

  • 2 cups all purpose flour
  • 1/2 tsp. baking powder
  • 1/2 tsp. salt (only if you use unsalted butter!)
  • 2/3 cup butter
  • 1 cup sugar
  • 1 large egg
  • 1 tsp. vanilla
  • 3 tbsp. chopped fresh herb of your choice!

Hope you enjoy!

Radical Goat Cheese and Radish Muffins

Do you still have a bunch of radishes left over from last week that are looking a little wilty? Don’t throw them on the compost pile! I have just discovered a savory muffin recipe that will use make your radishes disappear and leave ’em begging for more! Found this one on Kitchn in a post by Kelli Foster.

Can you say “NOM”?

Don’t those look delish? Trust me, they are!

You will want to preheat your oven to 375 F, and either grease your muffin pan or get out those extra muffin cups from your last family cupcake extravaganza. I went with the cups for easier clean up!

Next, slice your radishes thin. You may have noticed that some of your radishes have some holes inside. This happens when they get mature, and is just an indication that they are about as big as you want them to get (from the gardener’s perspective, anyway). They should taste the same as the others! Then you can melt your butter in a sauce-pan while you combine all your flour, baking powder, baking soda, salt, and garlic powder in a big bowl.

In a second bowl beat your eggs and add 5 tablespoons of the melted butter (once it has cooled a bit), honey, and buttermilk. At least that is what the recipe calls for. I totally forgot the honey and loved these muffins anyway (so if you are cutting the sugar out of your diet, feel free to leave it out!).

Also! I do not regularly keep buttermilk in my fridge! It is not a thing at my house, despite the manifold uses of buttermilk in making baked goods fluffy. I did my usual sub, and made my own with 2% milk and lemon juice. For future reference, add one tablespoon of lemon juice to 1 cup of milk and let it sit for 5-10 minutes, and through the wonder of SCIENCE, you get buttermilk!

After your dry ingredients are well mixed and your liquids are well mixed and your cocktail is well mixed (I stand by this), combine your wet and dry ingredients (not your cocktail; drink that)! Stir until just combined. Mine was uniformly wet throughout, but the original recipe makes it sound like you want it a little less so. Just use your best judgement (I trust you).

Next fold in your sliced radishes and goat cheese, holding back about 2oz of each to decorate the tops of the muffins.

A note on cheese: Some of you do not like goat cheese. I do not understand this. Goat cheese is awesome. It makes everything so creamy! However, if goat cheese is not your bag, I will suggest that feta would also work very well in these muffins. Yes I know that is another type of goat cheese. Fine. Use cheddar, and tell me how it goes.
You will then want to spoon your mixture into your muffin pan. Fill each cup about 3/4 full, top with a couple radish slices, a little left over cheese, a spoonful of the leftover butter, and sprinkle with pepper.

Bake for 20-25 minutes, until the tops are golden brown and a toothpick comes out clean.

No joke, I made 2 pans of this (one recipe) and they were gone in 24 hours. Buttery, savory, and healthy because you put vegetables in it, right? Right?? Work with me people!
Ok, just enjoy.

Recipe

  • 7 tablespoons unsalted butter, melted and cooled, divided
  • 2 cups all-purpose flour
  • 2 teaspoons baking powder
  • 1/2 teaspoon baking soda
  • 2 teaspoons salt
  • 1 teaspoon garlic powder
  • 2 large eggs, beaten
  • 1 1/4 cups buttermilk
  • 2 tablespoons honey (if you feel like it!)
  • 1 medium bunch radishes (about 2 cups), stems removed and sliced thin
  • 4 ounces goat cheese, crumbled
  • Fresh ground black pepper

Lemon-what, now?

One of the perks of the Singing Whale Farm share is the neat herbs we grow for you guys. I love to just hang out with the smells of the mint and basil when we are bagging up the veggies each week! Of course these plants aren’t just for smellin’, but what to do with them before they go bad? This week’s challenge is Lemon Balm! This adorable little plant is part of the mint family and is often used by folks who want to add a lemony fresh scent to things like DIY soaps, tinctures, and lotions. You can also cook with it, using it in a lot of the same things you would use mint for.

This week we gave you about 3 stalks of lemon balm which is perfect for making a refreshing warm weather beverage: Lemon balm iced tea! Hot tea is of course also an option, but I tend towards cold drinks in the spring and summer. If you look online there will be lots of different recipes but they largely consist of only three parts: Lemon balm, water, and sugar.

I was surprised by how much sugar people put in their lemon balm tea, so I tried to cut it back a bit. Still turned out to be pretty sweet though!

First get your lemon balm washed up and strip the leaves off. You can put the stems in too, but you gotta get them to a size that will fit your container. Since this was my first attempt I only wanted to make a couple of servings, so I used my go-to Mason jars again. I added one tablespoon of honey to each jar.

Split the lemon balm into the two containers. Use your kettle to get your water hot and then pour over the combination to steep the herbs.

I let them cool a bit on the counter, then I capped them and stuck them in the fridge. Once they have cooled down, you will want to strain the lemon balm out of your tea. I used my french press, which I think I will need to use for loose leaf tea more often, though up to now I’ve used it exclusively for coffee. I feel really silly that I never thought to use it this way before!

The resulting tea was a super-sweet treat that went down nice on my hot and muggy Sunday afternoon! The only thing missing were some lemon balm tea cookies which are next on my list of things to try with the herby bounty from the garden!

Note: I have just realized this would be amazing with a little bourbon. Will let you know how the cocktail version of this tea works out!

Garlic scape pesto is the besto!

Once again we have given you garlic scapes, those spicy, fabulous extra somethings that appear when it is time for hard-neck garlics to flower! We want the plant to put all its energy into growing those beautiful garlic cloves underground, so when the scapes come out we chop them off tout suite. And then we have the opportunity to make that spring time favorite: garlic scape pesto!

I love all kinds of pesto. I should OD on it during the months when the basil is really kicking, but it never seems to get old. This recipe makes a tangy, lemony spread that goes great with sandwiches, pitas, pasta, salad wraps, pizza… just about everything!

Note: because I did not have as many garlic scapes as was recommended, I used basil to make up some of the bulk of this batch. The recipe below is the adaptation I made from a recipe I found on Vanilla and Bean. The cool thing about pesto, is that really any green will do. You can even make pesto from carrot tops or spicy radish greens!

Chop off those flowers and set them aside.

So, you are gonna wanna dust off your food processor for this one. We just moved into our tiny house at the farm a few months back, and the cuisinart has been sitting on top of the cabinets for quite some time! Chop the bulbs off of the garlic scapes, you only want to use the stems. Put the scapes, pine nuts, basil, parmesan, and olive oil all into the chopper! Hit pulse and let it spin until the mixture is pretty smooth. You may have to pause and scrape it down a few times with a spatula.

Still needs some more cuisinart time!

Once it is pretty smooth, add your salt and pepper and lemon juice. Feel free to adjust the liquids so that you get the consistency you like!

Then you just spoon the concoction into your storage container of choice! Pesto freezes well, which is awesome for when you need a taste of spring in mid-winter! Some folks put them in ice cube trays so that they get nice little cubes of pesto they can toss in with pasta. Last year I put a bunch in ziplock bags and let them freeze flat on a cookie sheet, which made it easy to break off sections when I was ready to cook. This year I am trying these cute little 4oz Ball jars!

As you can see, there was just slightly too much from this batch to fit completely in two jars. Luckily I found a solution!

No problem! 🙂 I stuck one in the freezer and one in the fridge. This stuff was amazing on the egg and cheese (and pickled radish!) sandwiches that we made for dinner. Yay!

Recipe

  • 5 garlic scapes
  • ~2 packed cups of basil
  • 1/3 C pine nuts or almonds
  • 1/3 C parmesan, shredded
  • 1/3 C lemon juice
  • 1/8 tsp salt
  • A few grinds of pepper
  • 1/3 C olive oil

Honestly, washing the dishes takes longer than it takes to mix up this amazing stuff, and it is so worth the time. Store-bought has NOTHING on homemade!

Radishes, radishes, everywhere…

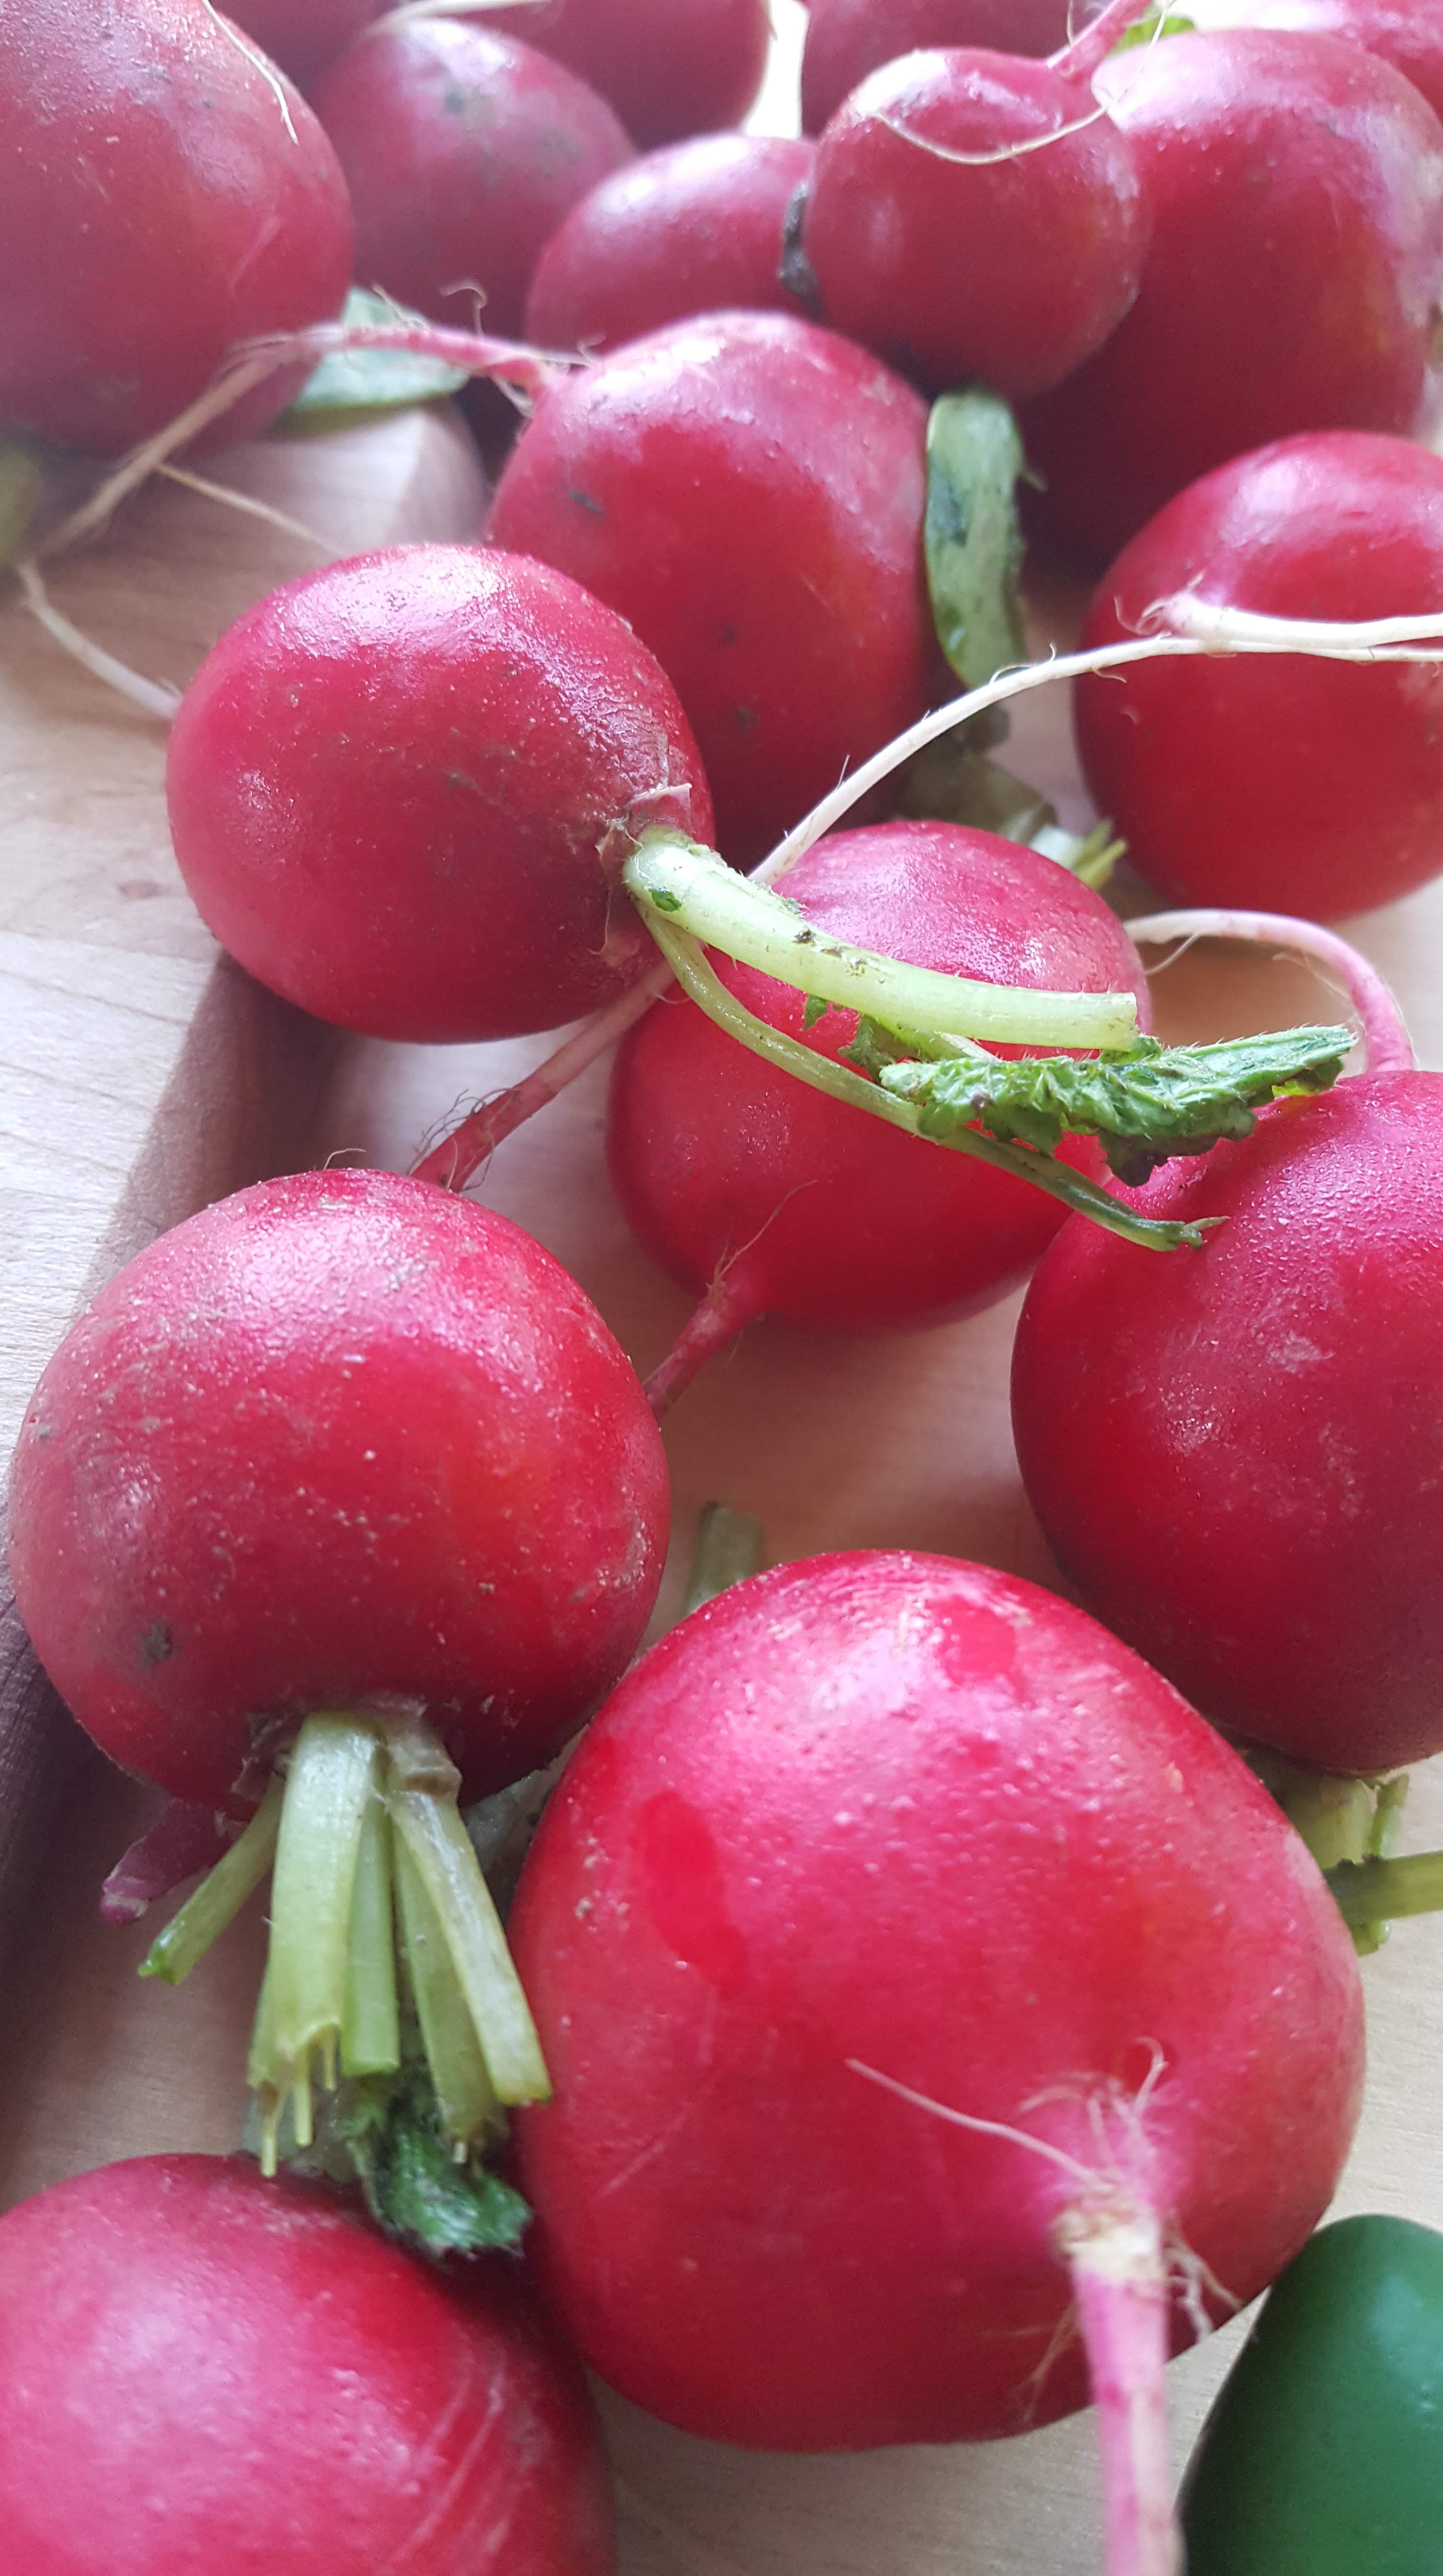
It is spring at Singing Whale Farm and our returning CSA members know what that means! It is going to start raining radishes! As farmers we love these guys because they grow fast and you can start them early. But I know I sometimes have trouble using them up before they go bad because there are usually so many!

Radishes are awesome in salads, sandwiches, and roasted. This year I have decided that I need some way to make their shelf-life last a little longer, and find some different ways to use them, so I gave this refrigerator pickle recipe a try. I admit to being very intimidated by the formal canning process so refrigerator pickles seem like an easy (and quick!) way to get my produce prepped!

Sweet and Spicy Pickled Radishes

Now I love, love, LOVE me some tacos, so when I found this recipe from the RebootedMom (https://www.rebootedmom.com/sweet-and-spicy-pickled-radishes/) I knew I would need to try it. They are touted as the perfect topping for any type of taco, and was betting they would be awesome on sandwiches as well!

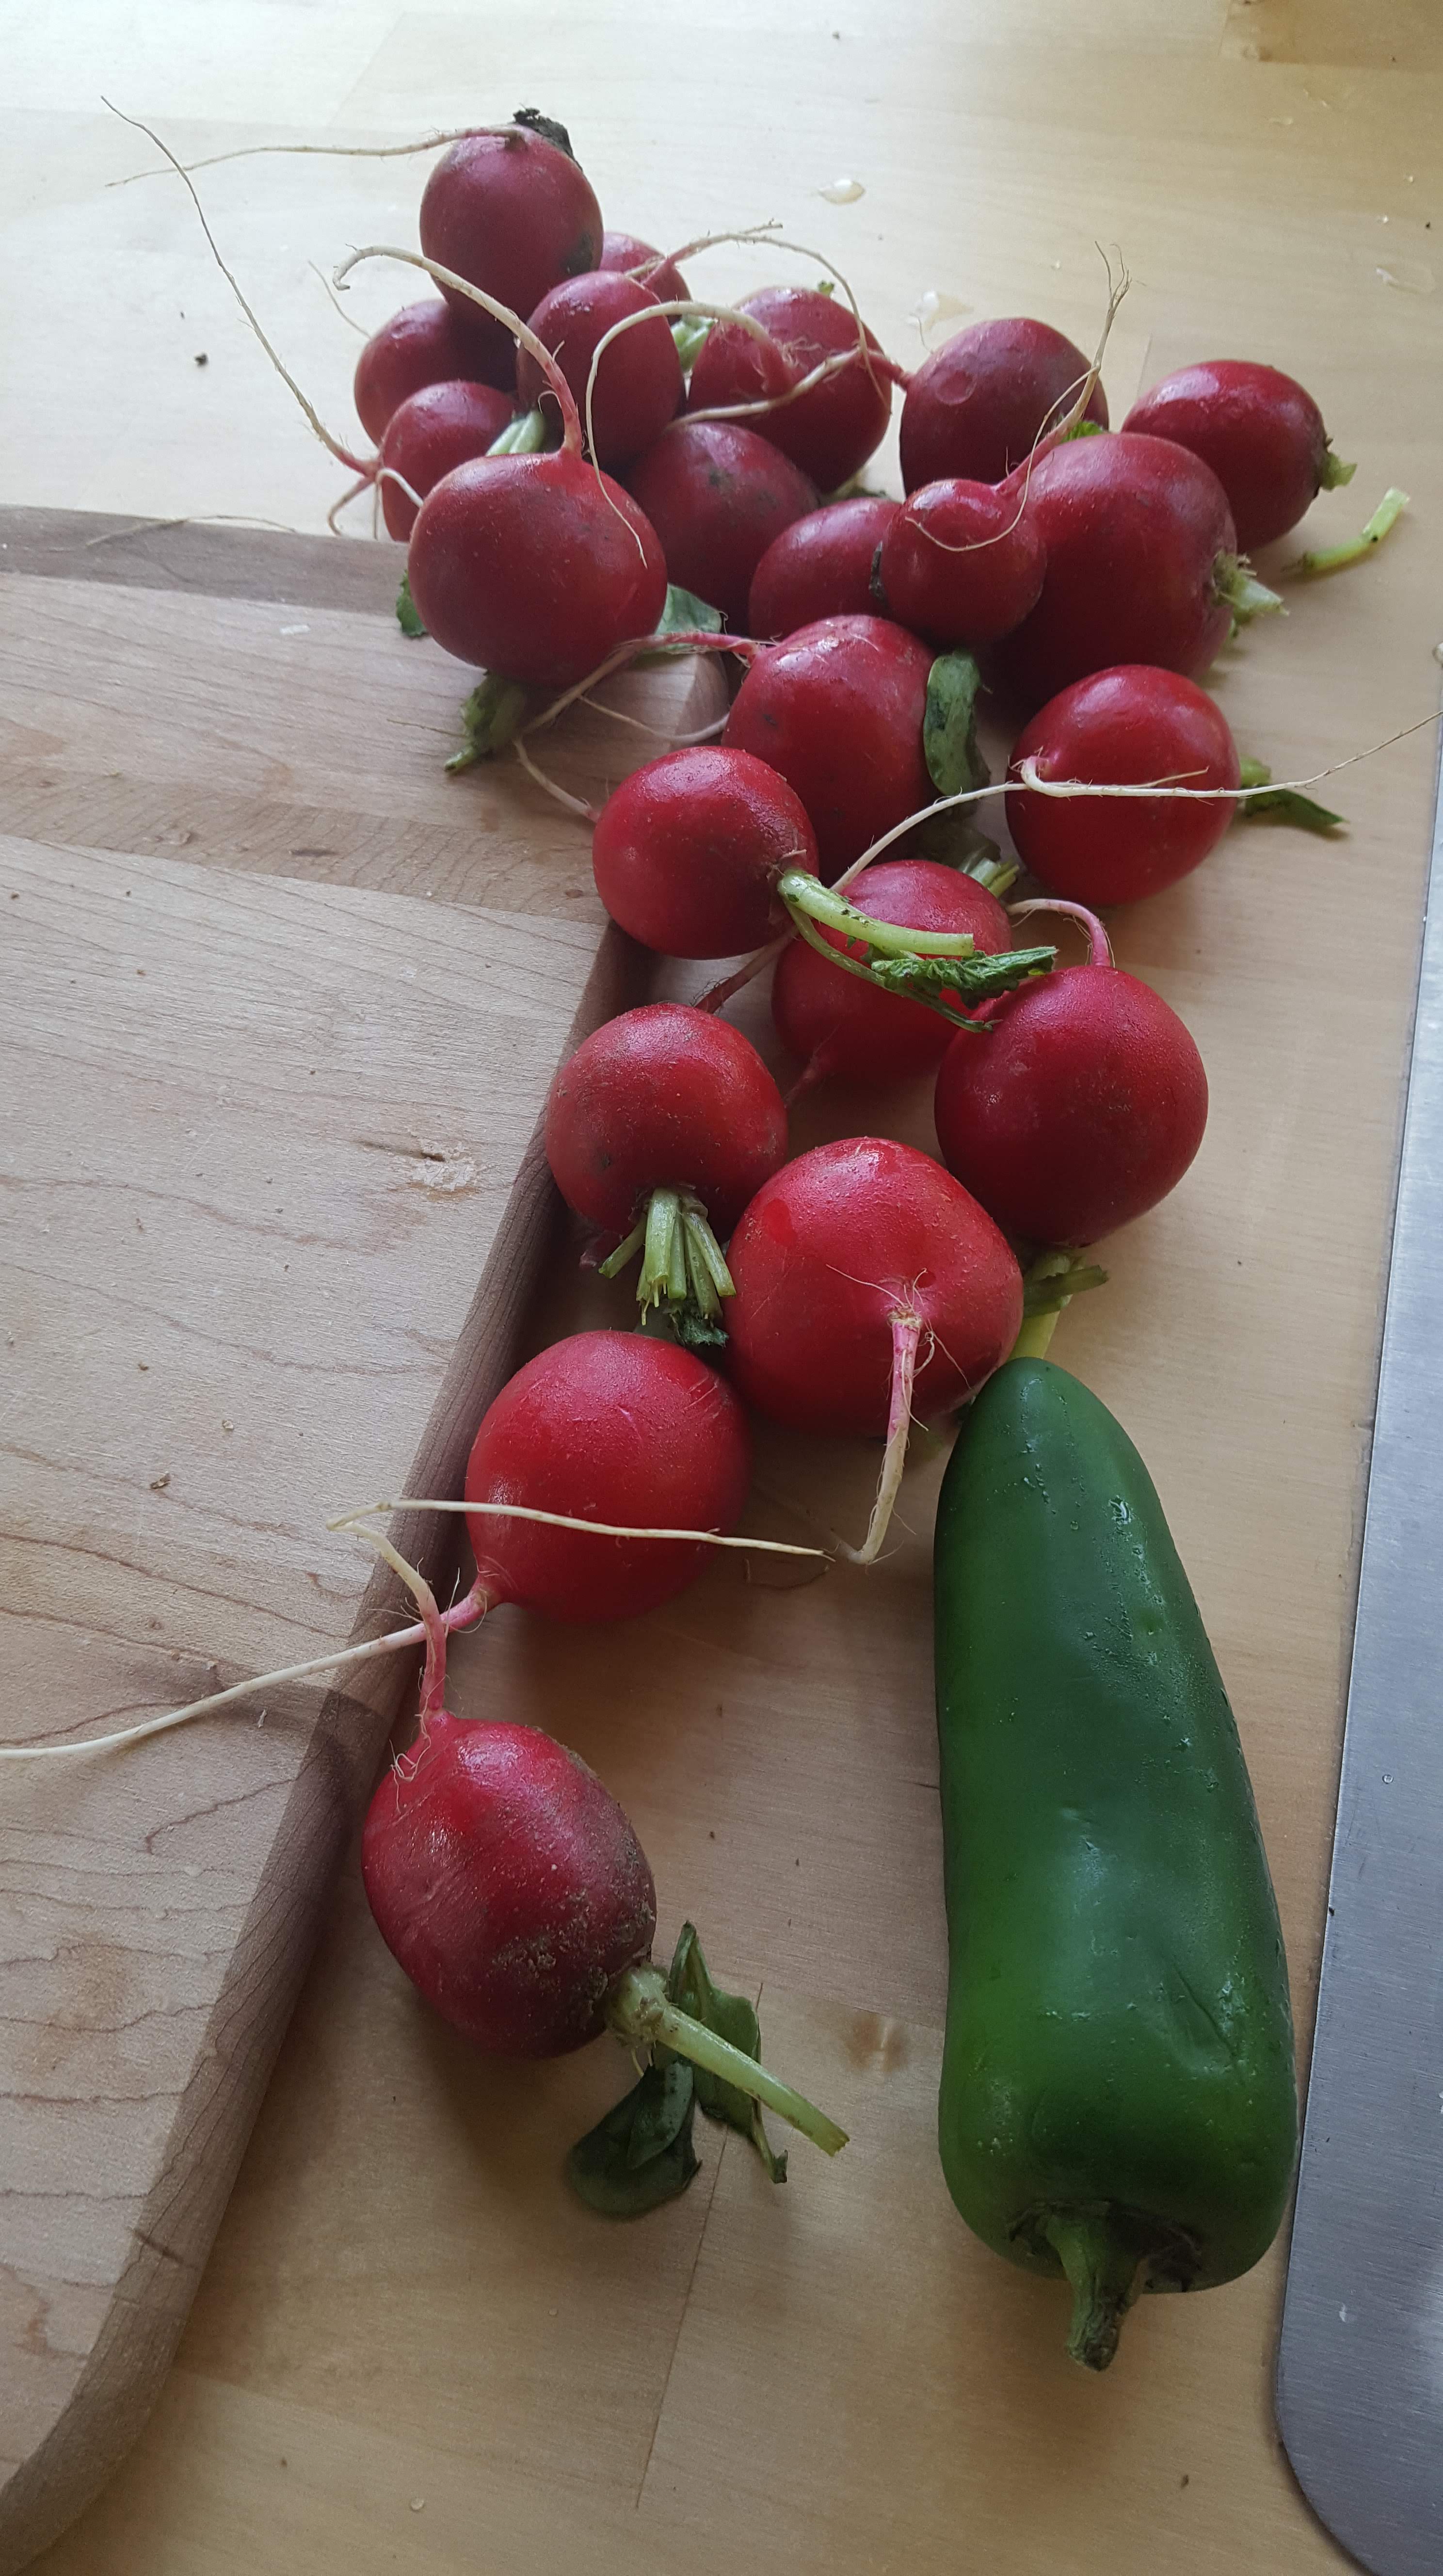
Start with about a pound of radishes. I had what looked like a standard bunch, but I didn’t weigh them.

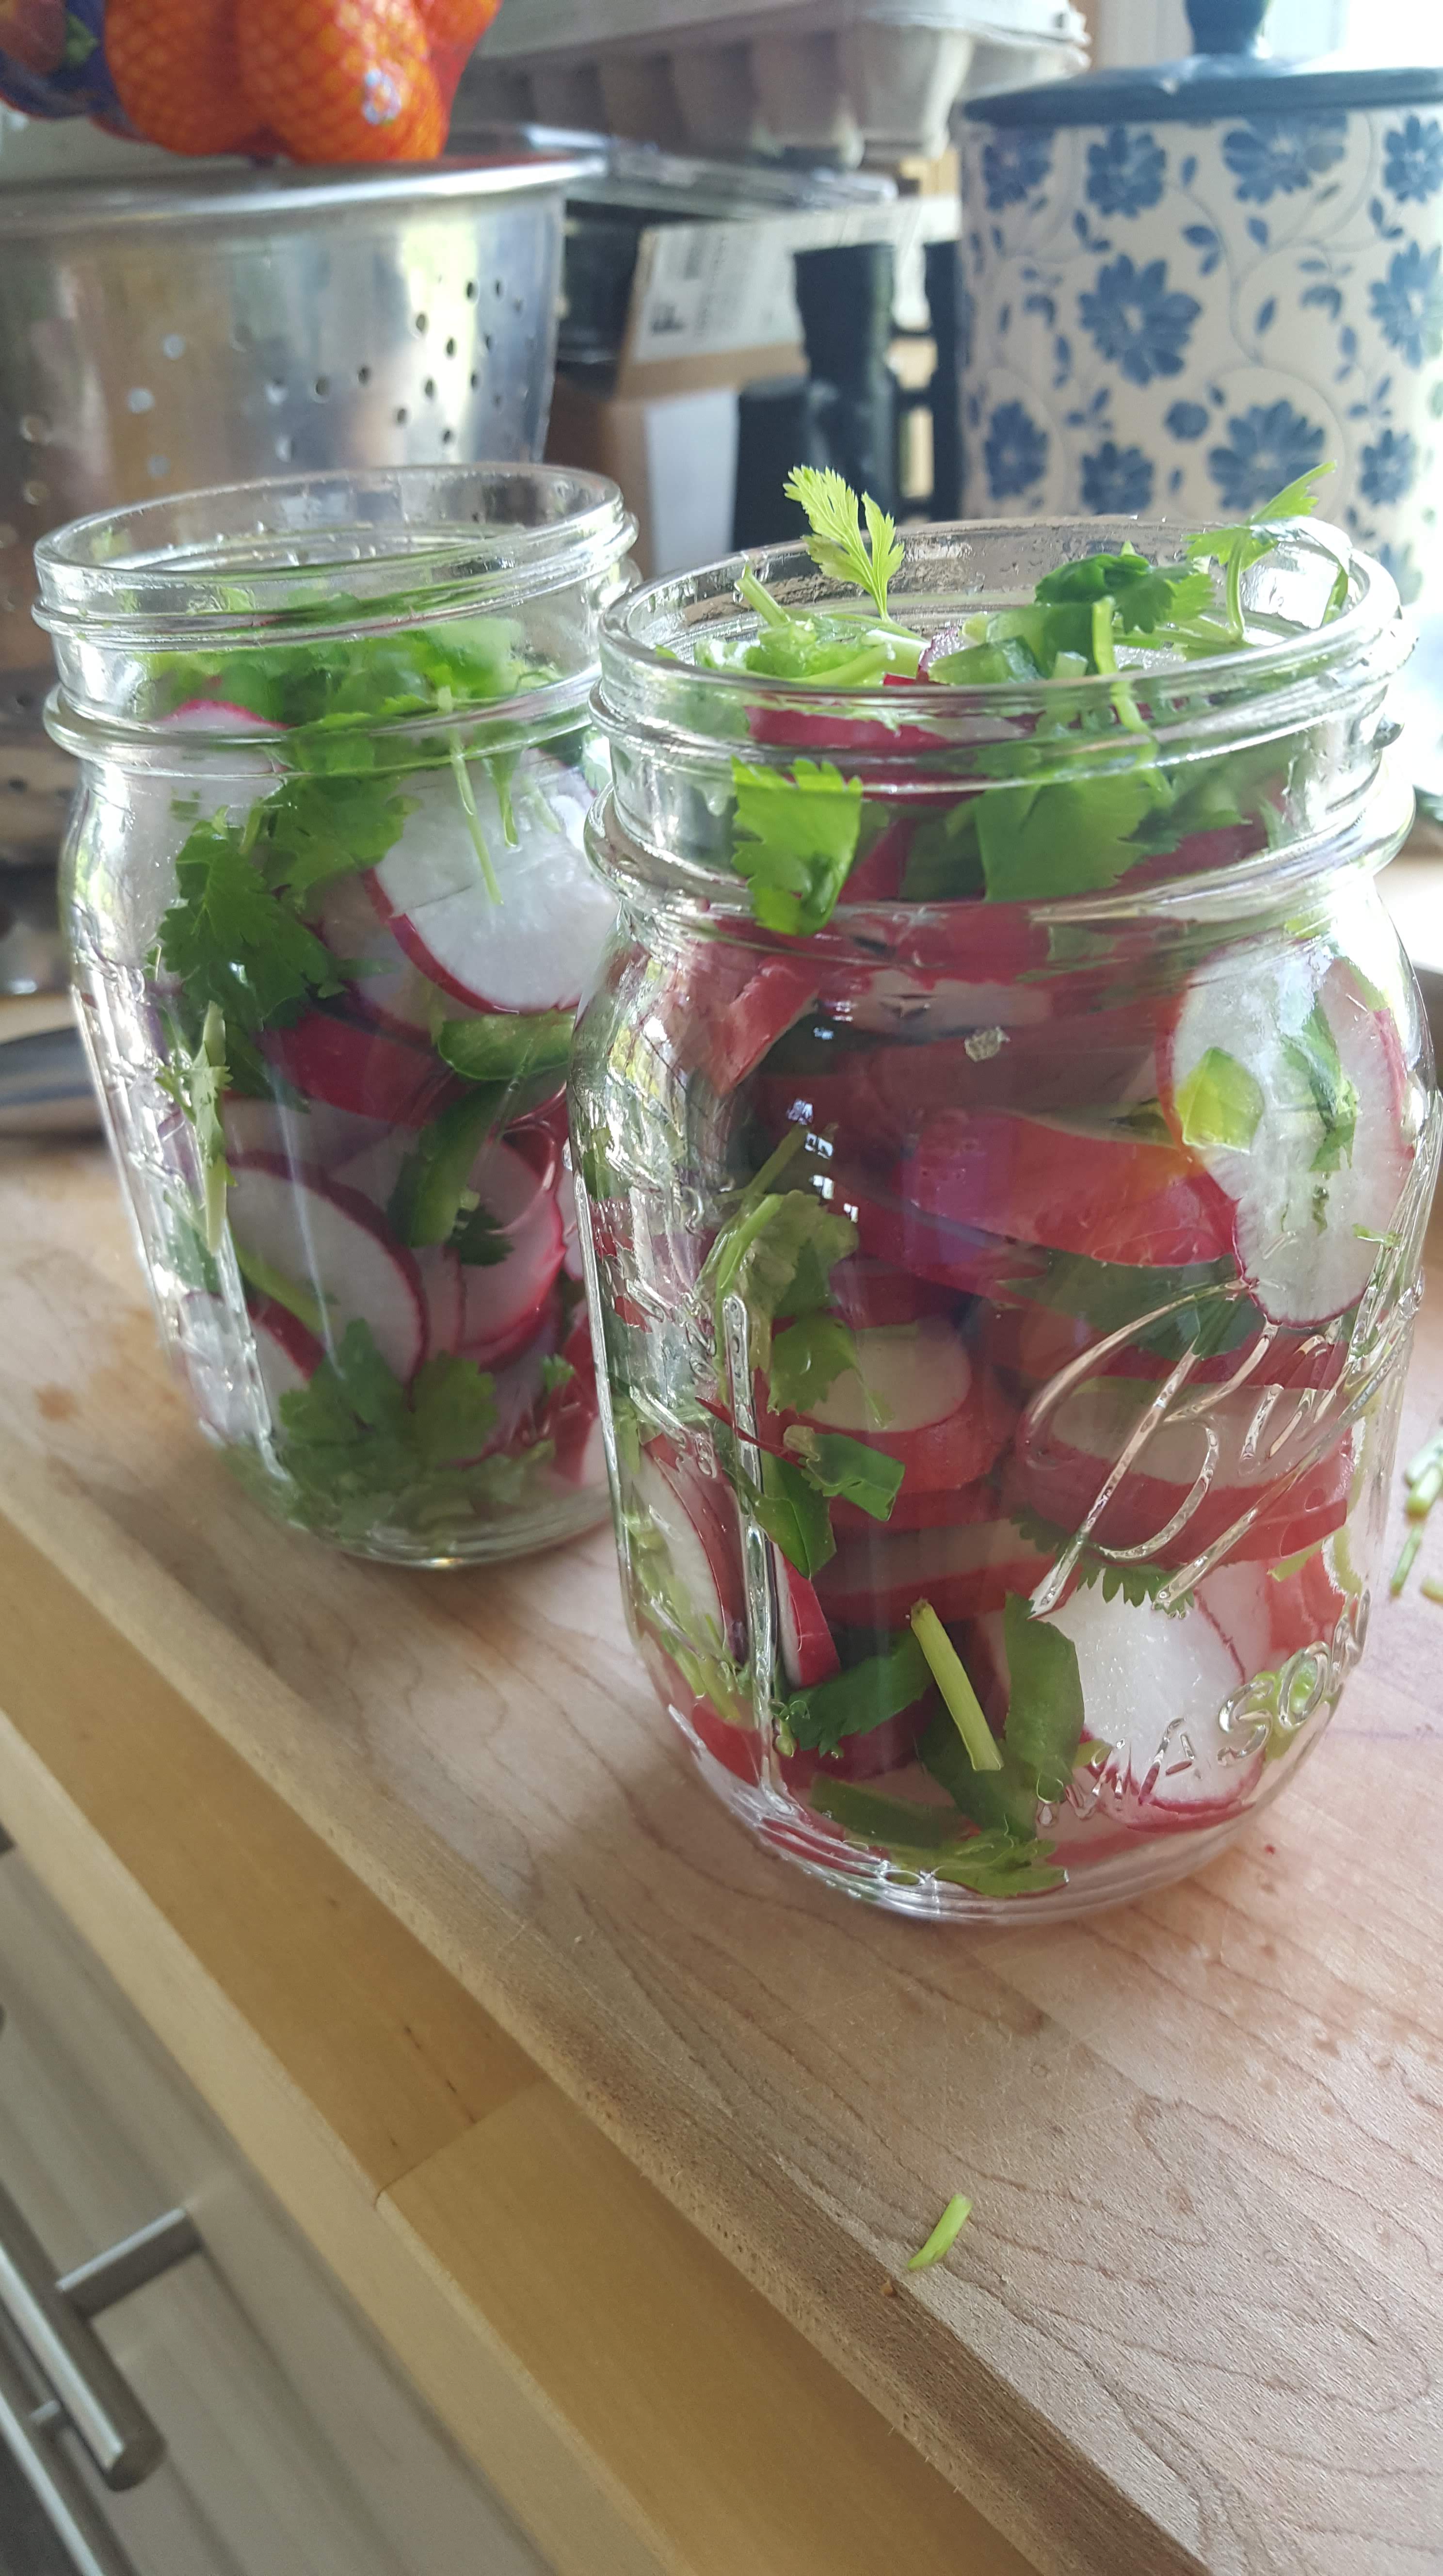
After you clean them up, slice them thin and dice up a jalapeno pepper. Next you chop up a bunch of cilantro. The recipe calls for 1/4 cup, but I tend to eyeball my herbs (with admittedly varied results). I was prepared to stick them into one 16oz canning jar. But pretty soon it became clear that I would need 2, even if I packed them tight.

Meanwhile on the stovetop combine I combined vinegar, sugar, and salt. Heat until all the sugar and salt are dissolved completely then let it cool down to room temperature. While I was waiting for things to cool I went out to mow the yard. By the time I was done it was cool.

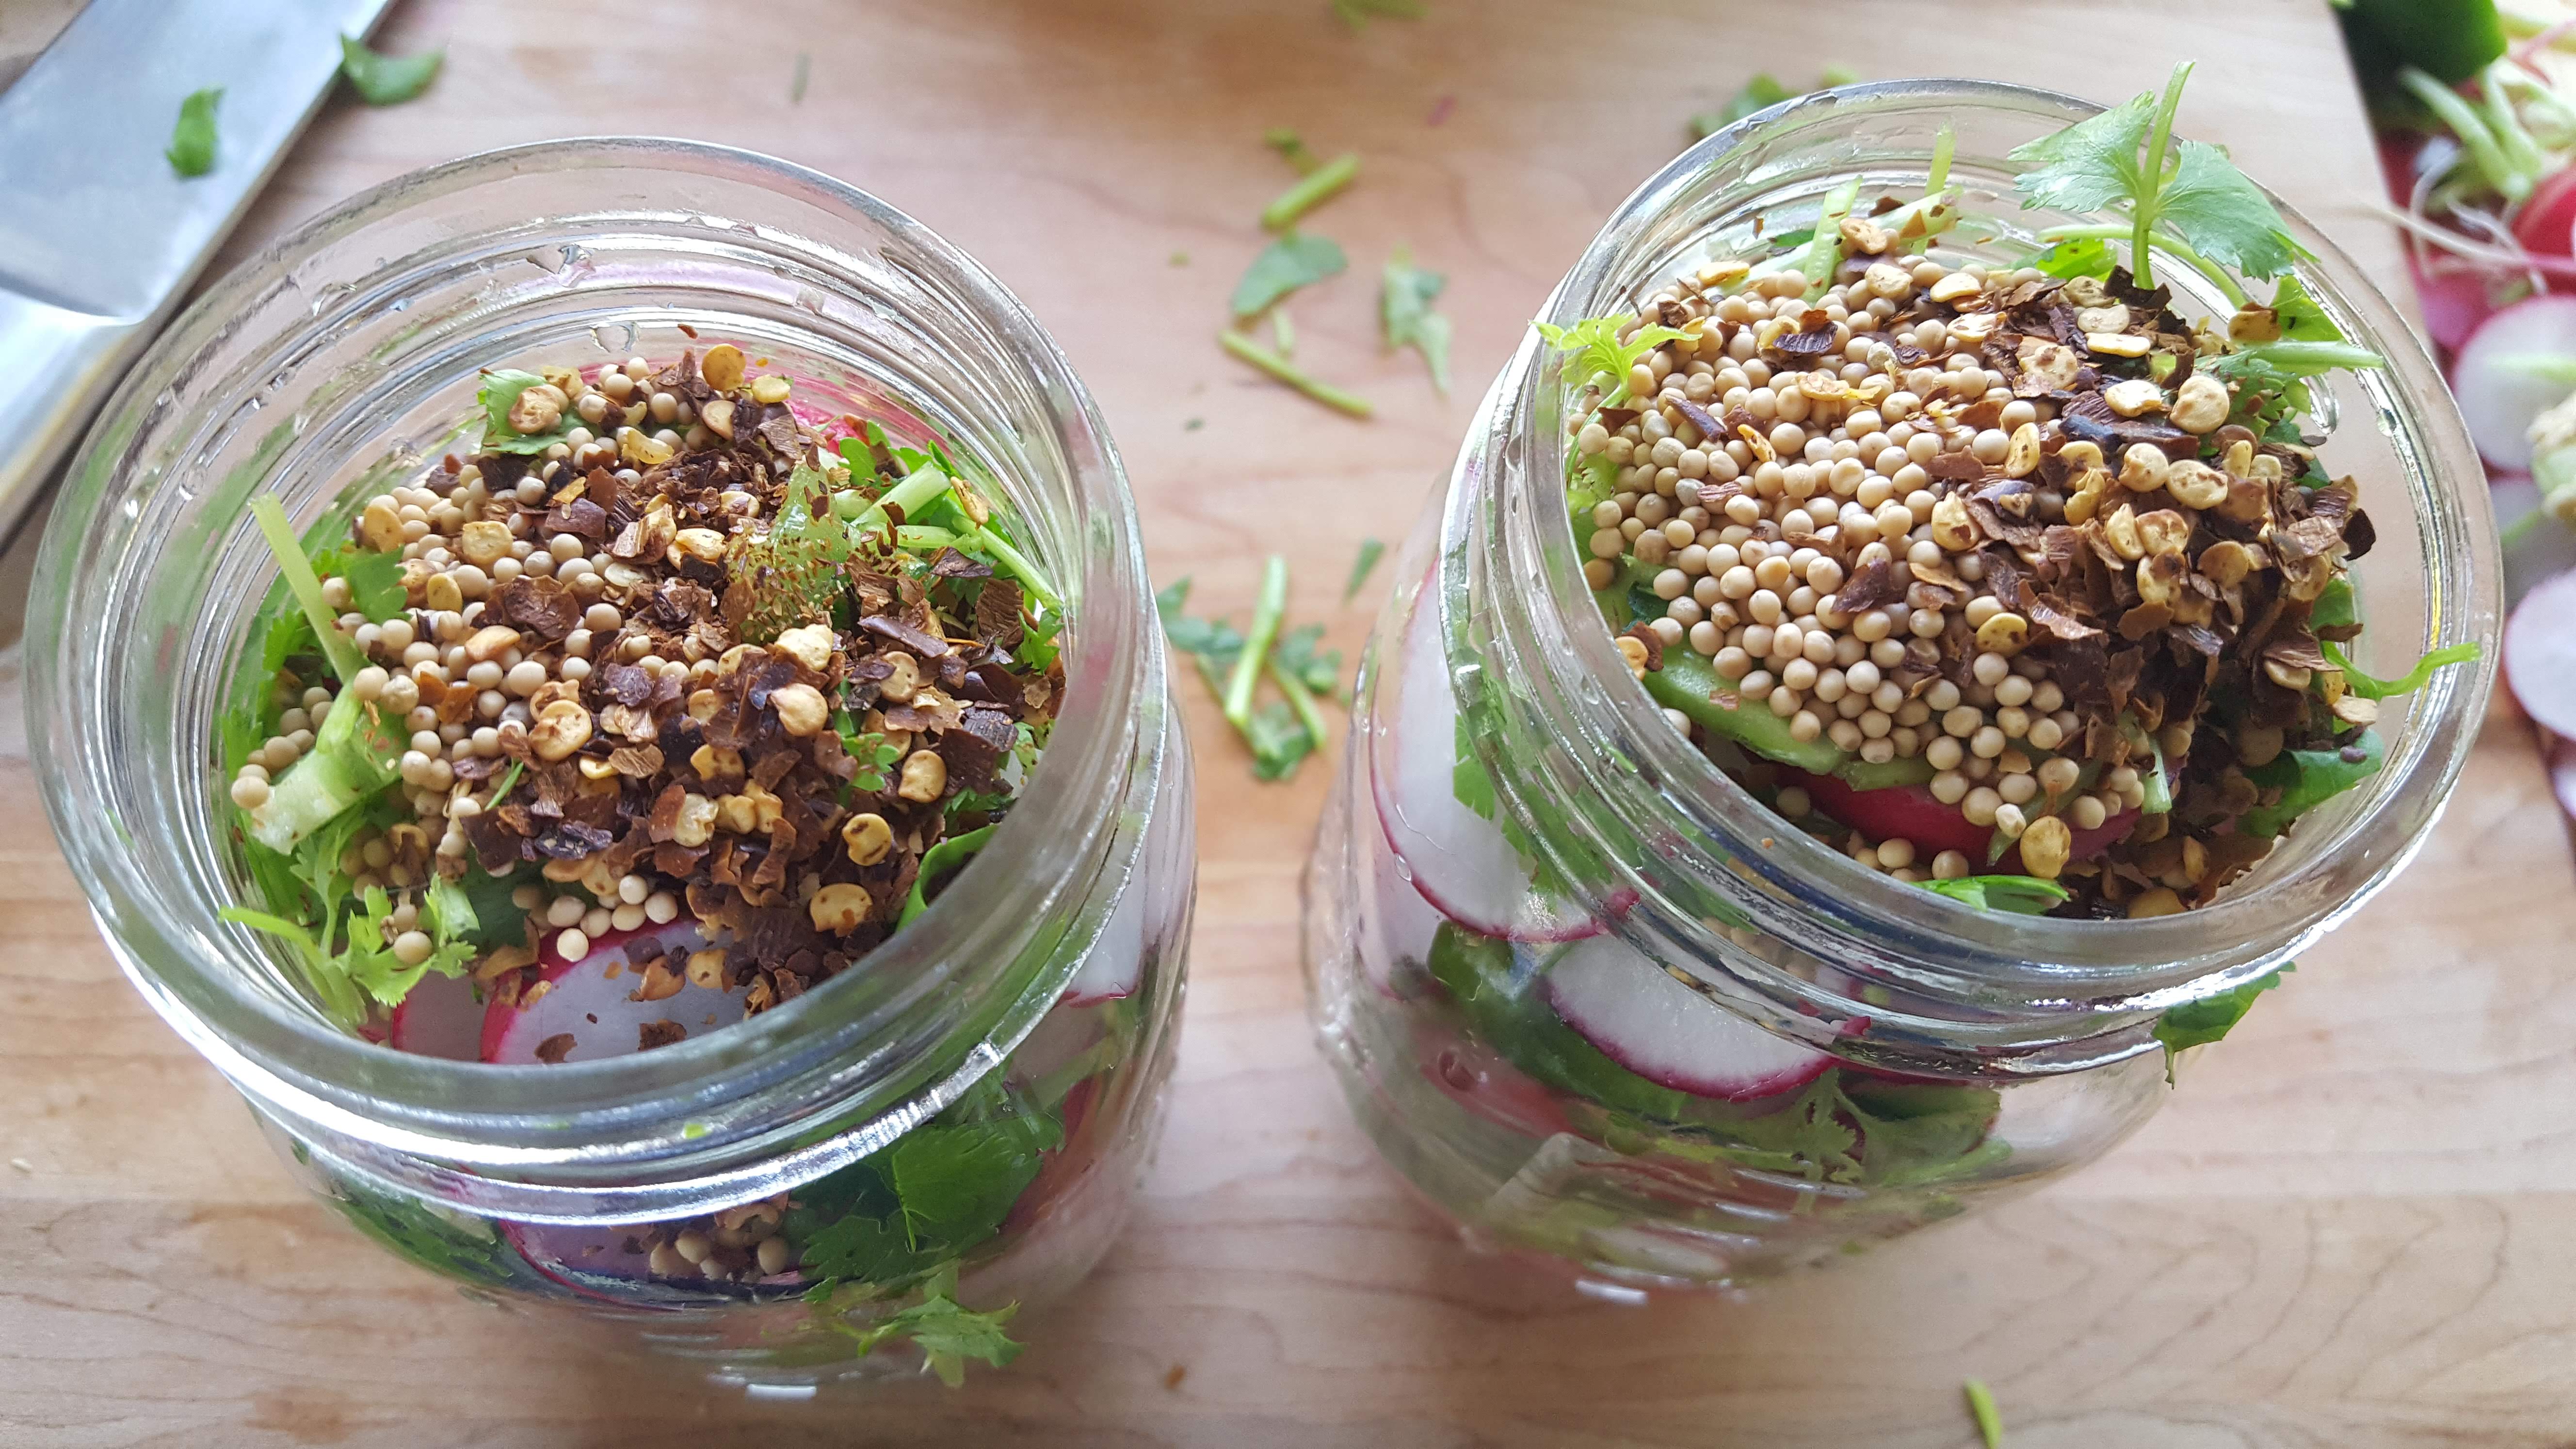
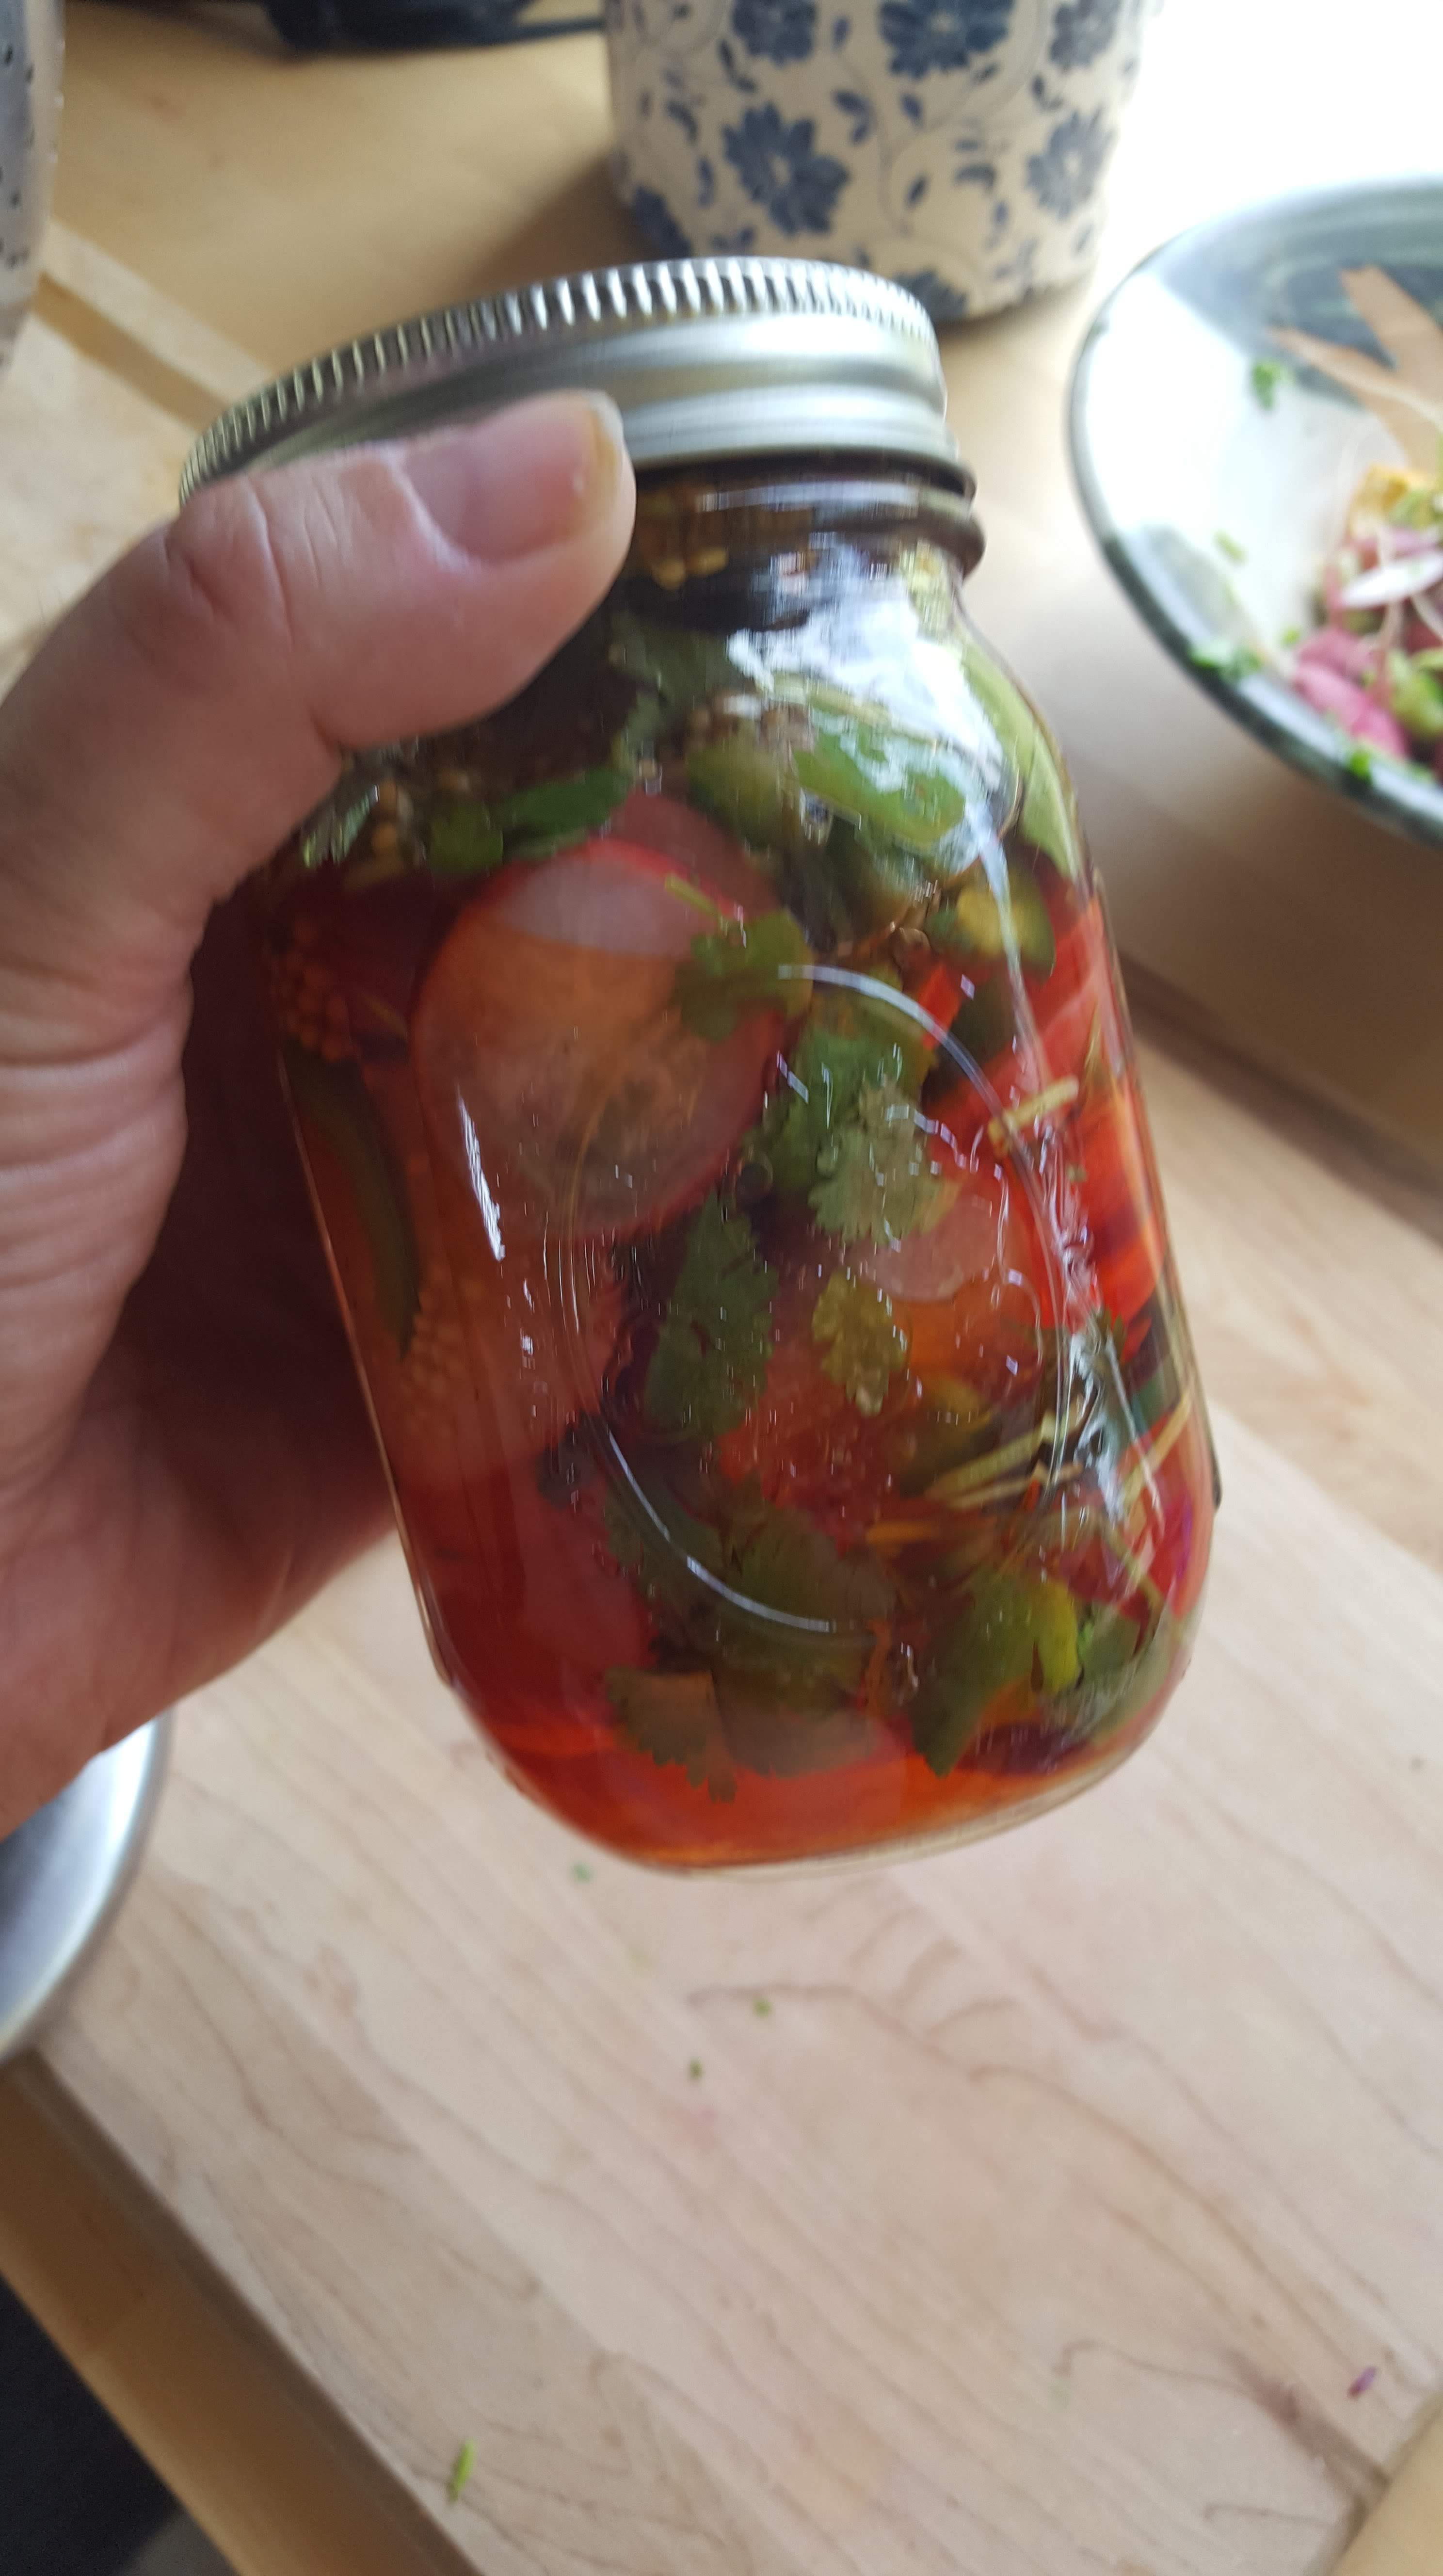
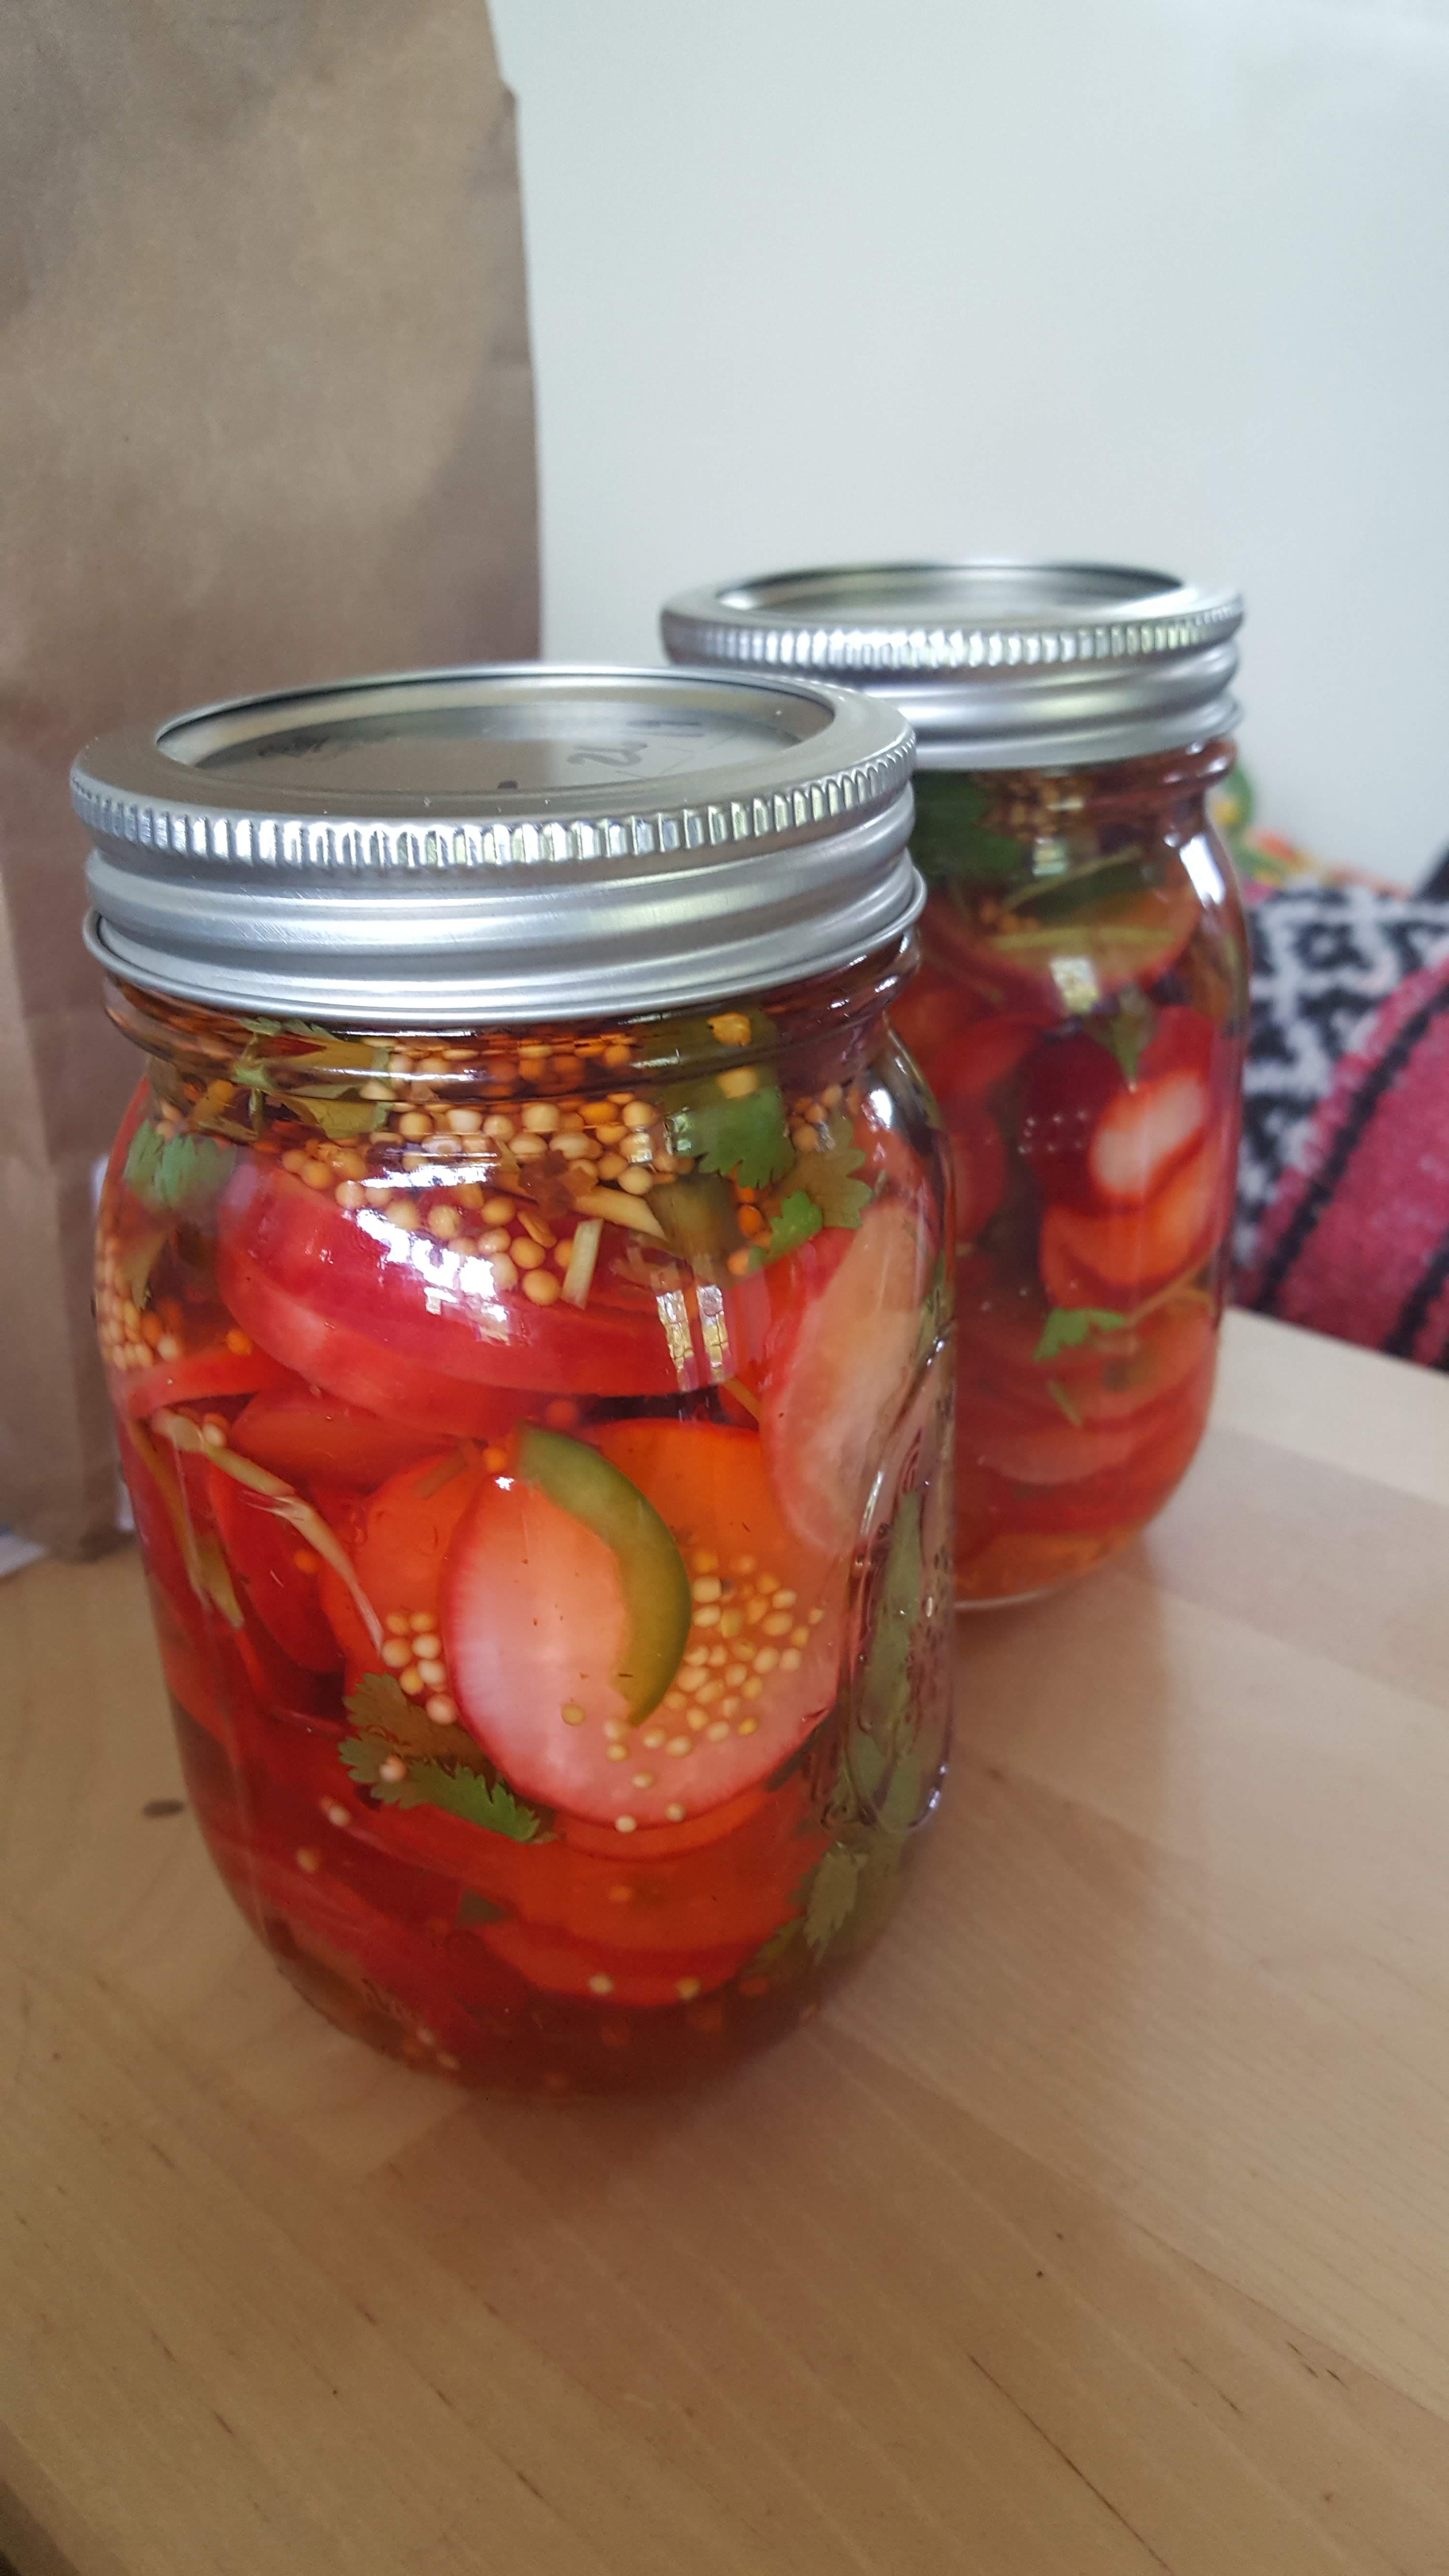
Next you pack the radishes, diced peppers, and cilantro into your jars! Two 16 oz jars worked out just right. (Note: I didn’t double any of the recipe, I just tried to split things evenly between the two jars!). Then you put in the mustard seeds and the red pepper flakes. Again, eye-balled the red pepper. Luckily that did not come back to bite me!

When the vinegar solution was completely cool I poured it over the top of the radishes. You want to completely cover them, so if you have extra space, you top off the jar with some more vinegar.

I then set them out at room temperature for about 24 hours to really bring those flavors out, and then stuck them in the fridge! Easy peasy! The brine turned a really neat red color.

Best part of this recipe? Took me about 20 minutes of “work” if that. Super easy!

Recipe:

  • 1 lb radishes sliced thin
  • 1/4 C. cilantro chopped
  • 1 ea. jalapeno stem removed, finely diced
  • 1 C. vinegar or more as needed
  • 2 Tbsp. sugar
  • 2 Tbsp. kosher salt
  • 1 tsp. red pepper flakes optional
  • 1 Tbsp mustard seed

Keeps in the fridge for 7-10 days.

Final result? Tasty! So far I have had them with brats, avocado toast, veggie burgers and quinoa salad and it worked great on all of them! Ironically have not made any tacos this week, but I am betting they will work as described. They have more kick than I was expecting thanks to the pepper, but they mellow out after a few days in the fridge.

I had a lot of fun with this recipe and am looking forward to pickling a lot of stuff this season, so check back for more recipes that will be shared on the blog! Meanwhile if you want to see some other interesting recipes you should head on over to RebootedMom.com (https://www.rebootedmom.com/) for interesting articles on Food, DIY, Gardening and more!

CSA Season 2019 Arrives!

OMG it’s here! Andy and Eddie and Katie and Dale have been planning and planting and weeding and mulching like crazy! Already the garden is looking green and soon will be bursting with all the tasty veggies that are going to be coming your way in just a few short days!

For early days get ready for lots of herbs, greens, and root vegetables like radishes and carrots. Make sure you keep checking into the blog and the Facebook page to see what will be coming up in your share each week, fun recipes for your produce, and updates on how the growing is going!

We are so excited that you all are going to be a part of our farm family for another year!

Sprouting, Sprouting, Sprouting!

2015-03-08 13.08.46   2015-03-28 08.42.58

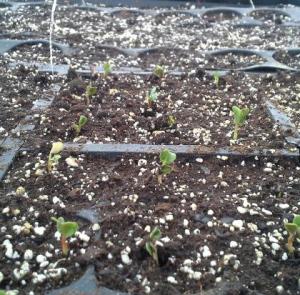
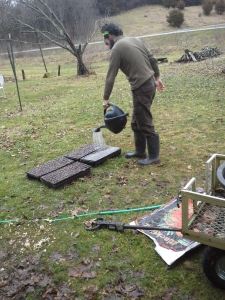
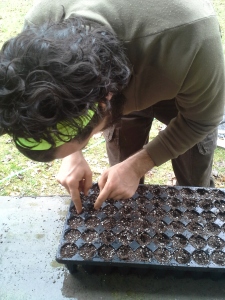
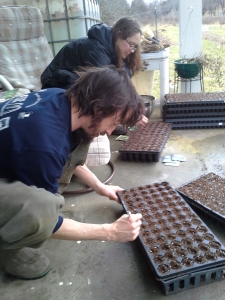
So far it has been kind of a chilly spring, but we have not been letting that slow us down! We have a ton of seeds started in cold frames. They are like mini greenhouses with their own lights and heaters to keep the little plant-lets warm and cozy! I kinda wish I’d been able to get in there myself last Saturday when it got down below freezing again…

2015-03-17 09.27.00    2015-03-20 20.54.33

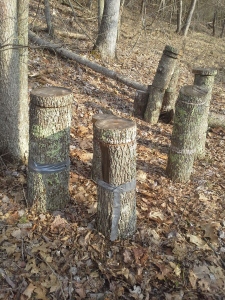
Needless to say, the sprouts are loving it and we already have radishes, lettuces, tomatoes and corn popping up our of the soil! Woot! And to top it off we also have inoculated several logs with mushroom spores, so hopefully soon we will see the start of a bumper crop of oyster mushrooms!

2015-03-17 09.49.50

*Hug the Whale!*

Say hello to the Singing Whale!

2015-03-14 14.15.00 2015-03-14 14.15.20 2015-03-14 13.01.53

Welcome to Singing Whale Farm, home to a group of friends that want to bring fresh, healthy food from our garden to your table! Established in 2015, Singing Whale farm will be providing fruits and veggies to a small group of families through a Community Supported Agriculture program. Ten lucky sponsors have bought shares in our crop and will receive produce every two weeks from June-October! Currently on the menu are beets, radishes, spinach, brussels sprouts, tomatoes and much much more!

Each family will receive a box of veggies, and any extras will be available for purchase on a first come first serve basis, either at our delivery site (TBA) or at the local farmer’s market in Frankfort, so keep an eye on this page! When we have extra we will let you know what we have!

*Hug the Whale!*